A DIY 20x20 paver patio (400 square feet) typically runs between $1,200 and $3,500 in materials, depending on the paver type you choose and how much site prep your yard needs. That's the honest range before you factor in tool rentals, delivery fees, and any surprise excavation work. Most homeowners doing a straightforward DIY install on relatively flat ground land somewhere between $1,800 and $2,800 all-in. If a contractor does the same job, expect $3,200 to $10,000 installed, which means DIY can save you $1,500 to $6,000 or more, but only if the conditions cooperate.
How Much Does a 20x20 Paver Patio Cost DIY? Budget Breakdown

Felix Carver
23 May 2026
What a DIY 20x20 paver patio actually costs
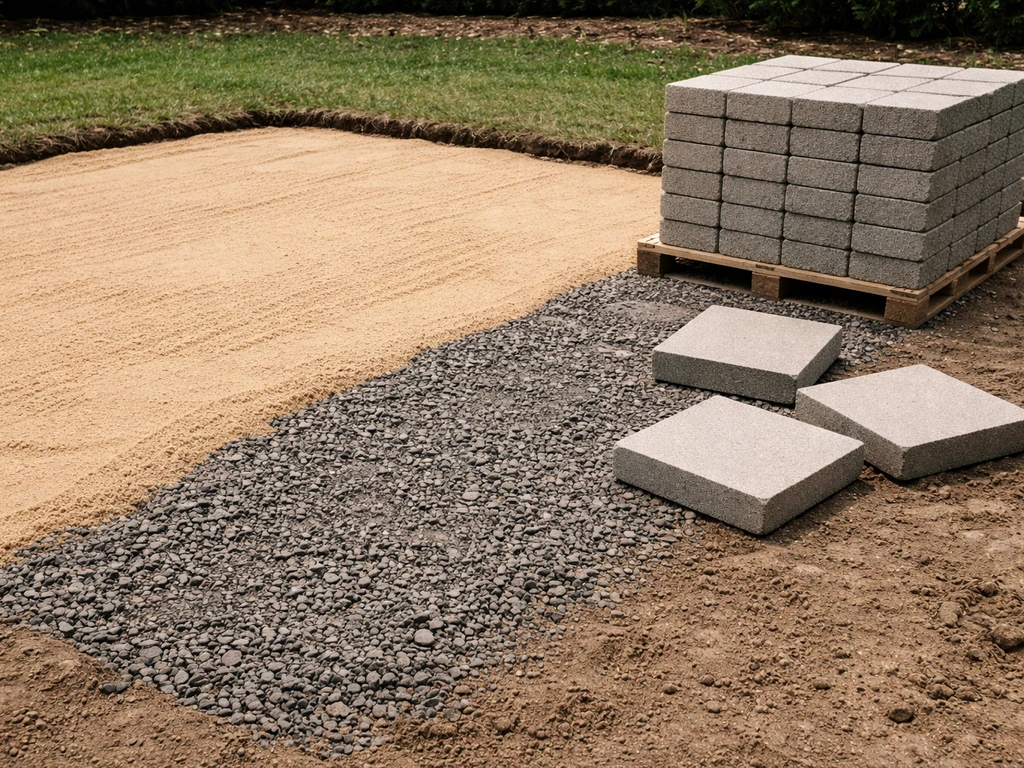
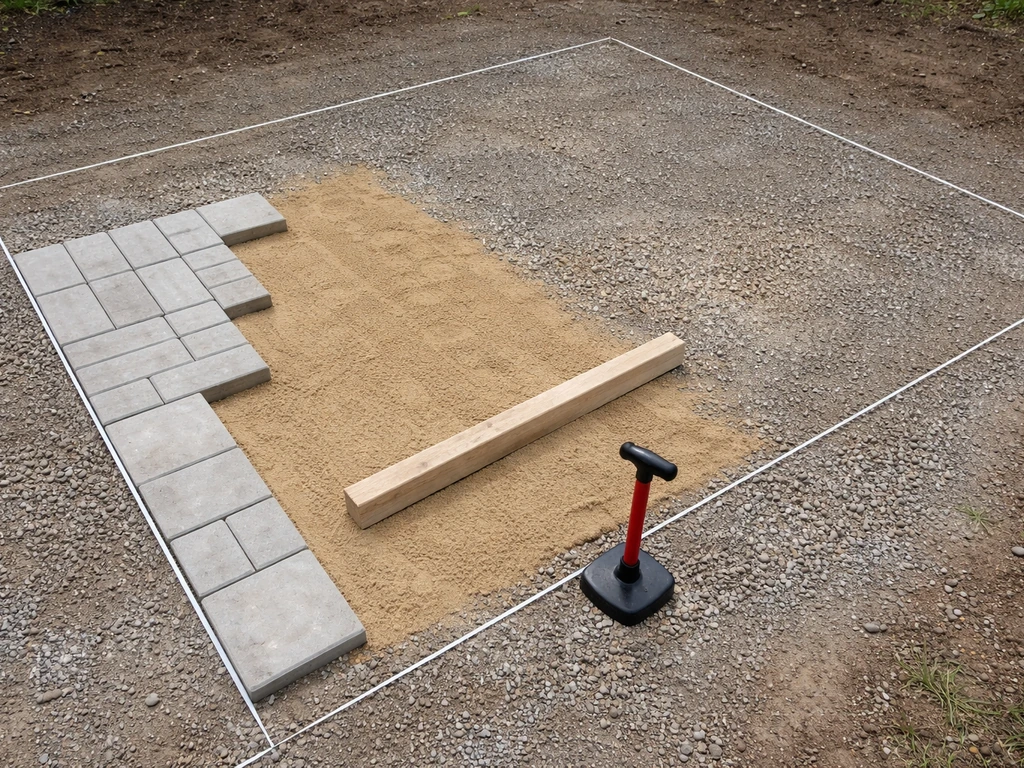
The 400 square feet of a 20x20 patio is a manageable DIY project, but it involves more material than most people expect. You're not just buying pavers. You need a compacted gravel base, bedding sand, polymeric sand for the joints, edge restraints, geotextile fabric, and all the small stuff (spikes, sealant, marking paint). Here's how those numbers stack up using 2026 material pricing.
Cost breakdown: every line item for a 20x20 DIY paver patio
Below is a realistic itemized budget for a standard 20x20 paver patio with a 4-inch compacted gravel base and 1-inch bedding sand layer. A typical paver patio build-up commonly assumes about 4 inches of compacted base plus 1 inch of bedding sand for patios and walkways, which is often used to estimate cubic yards of aggregate and sand. Costs shown are material-only ranges. Concrete pavers at the lower end of the price spectrum ($3.40–$6.20 per sq. ft.) are the most common DIY choice and what these numbers reflect.
| Item | Quantity / Notes | Estimated Cost |
|---|---|---|
| Concrete pavers | 400 sq. ft. at $3.40–$6.20/sq. ft. (add 10% overage) | $1,500–$2,730 |
| Crushed stone / gravel base | ~5 cubic yards for 4-inch depth over 400 sq. ft. | $175–$350 |
| Bedding sand (coarse) | ~1.25 cubic yards for 1-inch layer | $60–$120 |
| Polymeric sand (joint fill) | ~8–14 bags (50 lb) depending on joint width | $80–$180 |
| Geotextile landscape fabric | 400 sq. ft. at $0.15–$0.50/sq. ft. (basic woven) | $60–$200 |
| Edge restraints (plastic or steel) | ~80 linear feet perimeter at $3–$12/lin. ft. | $240–$960 |
| Spiking/anchoring hardware | Included with most edging; extras ~$15–$30 | $15–$30 |
| Paver sealer (optional) | ~1–2 gallons for 400 sq. ft. | $40–$90 |
| Miscellaneous (marking paint, levels, screed rails, gloves) | Small supplies | $30–$80 |
Adding all of that up, a realistic DIY material budget sits between roughly $1,200 and $3,500, with most projects landing in the $1,800–$2,500 range when using mid-grade concrete pavers, plastic or aluminum edging, and a basic 4-inch base. The single biggest variable is paver cost: jumping from a $3.50/sq. ft. concrete paver to a $6/sq. ft. tumbled or textured paver adds roughly $1,000 to your materials bill alone.
A note on base depth
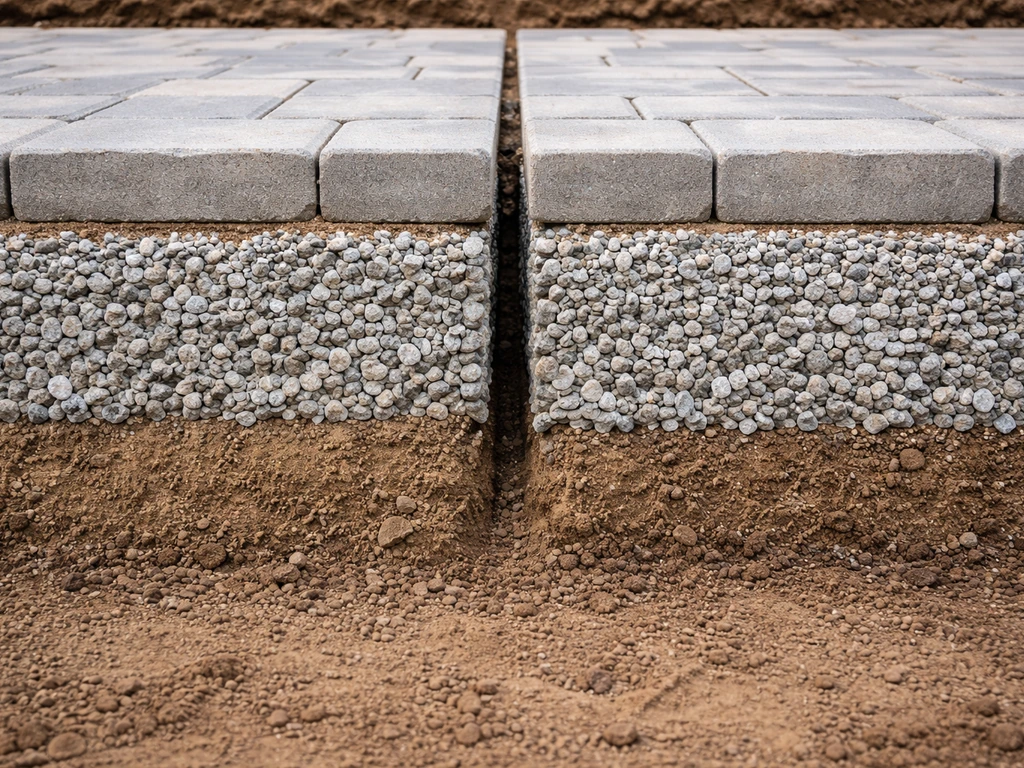
Four inches of compacted base is the standard for a patio on well-draining, stable soil. If you have clay soil, poor drainage, or you're in a freeze-thaw climate, bumping to 6 inches is smart and adds about 2.5 more cubic yards of gravel (roughly $100–$200 more in material). It's worth it to avoid settling.
Tools, rentals, and what you actually need to pull this off
The tools are where DIY budgets quietly balloon. Here's a clear breakdown of what you'll need and whether it makes more sense to rent or buy.
| Tool | Buy or Rent? | Approximate Cost |
|---|---|---|
| Plate compactor | Rent — 1 to 2 days | $60–$100/day |
| Wet saw / paver saw (for cuts) | Rent — 1 day is usually enough | $60–$90/day |
| Hand tamper (for edges) | Buy — cheap and reusable | $25–$50 |
| Rubber mallet | Buy | $15–$25 |
| Screed pipes / rails | Buy (conduit works fine) | $10–$20 |
| Long level (4 ft or 6 ft) | Buy or borrow | $25–$60 |
| String line and stakes | Buy | $10–$15 |
| Wheelbarrow | Buy or borrow | $60–$120 (or free if you have one) |
| Skid steer (if excavating more than a few inches) | Rent — avoid if possible | $300–$575/day |
Realistically, most DIYers should budget $150–$250 in tool rentals for the plate compactor and paver saw. If you need a skid steer for excavation (say, you're digging out 6+ inches of soil across 400 sq. ft.), that alone can run $300–$575 per day, and it turns a Saturday project into a serious undertaking. Wherever possible, use hand tools and a rented plate compactor and keep the skid steer off the bill.
Don't forget delivery fees. Pavers, gravel, and sand are heavy and sold in bulk or on pallets. A local supplier will often charge $50–$150 per delivery, and you may need separate trips for pavers and base materials. That can add $100–$300 to your total if you're not picking things up yourself with a truck or trailer.
DIY vs. contractor: the real cost comparison
Installed paver patio costs run roughly $8–$25 per square foot in 2026, meaning a 400 sq. ft. patio costs $3,200–$10,000 when a contractor does it. That upper range is for premium natural stone or complex patterns. A standard concrete paver patio with professional installation typically falls in the $3,500–$6,000 range for a 20x20. DIY materials for the same project run $1,200–$3,500, so the labor savings are real and often reach $2,000–$4,000 on a mid-range build.
But those savings shrink fast in a few situations. If you have major grading issues, tree roots, old concrete to demo, or poor soil drainage, the contractor's efficiency (and equipment access) starts to look more attractive. A pro crew with a skid steer can excavate and grade 400 sq. ft. in an afternoon. That same task can eat an entire weekend if you're doing it by hand or renting equipment you've never used.
The point where DIY stops making financial sense is roughly when your rental, disposal, and extra supply costs push past $800–$1,000 on top of materials, or when the site prep is complex enough that one mistake (poor drainage, unlevel base) could require pulling the whole thing up and redoing it. Paver patios are forgiving in that individual pavers can be reset, but the base work is where you really need to get it right the first time.
| Scenario | DIY Total Estimate | Contractor Total Estimate | Potential DIY Savings |
|---|---|---|---|
| Flat site, concrete pavers, simple pattern | $1,500–$2,200 | $3,500–$5,500 | $2,000–$3,500 |
| Mild grading needed, mid-grade pavers | $2,000–$3,000 | $4,500–$7,000 | $2,000–$4,500 |
| Complex site, demo, drainage work required | $3,000–$5,000+ | $5,500–$10,000+ | $500–$2,500 |
Hidden costs that can blow your DIY budget
These are the costs most DIY budget guides gloss over, and they're exactly the ones that catch people off guard mid-project.
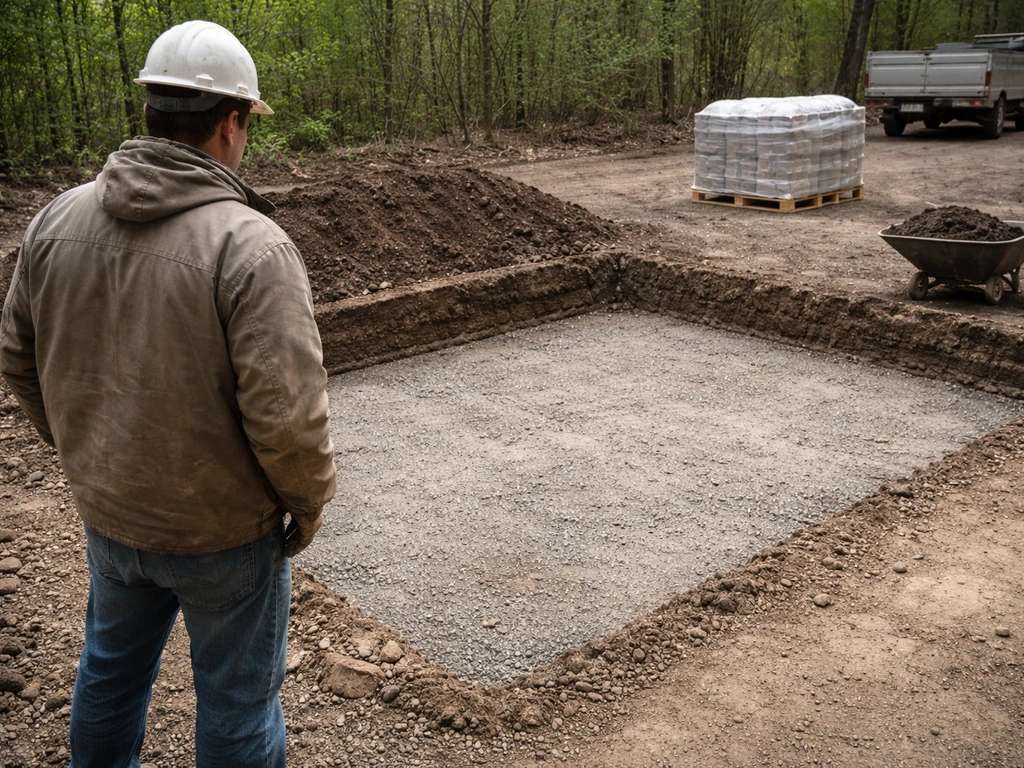
- Grading and excavation: A 20x20 patio with a 5-inch build-up (4-in base + 1-in sand) means removing roughly 6–8 inches of existing soil across 400 sq. ft. That's about 8–10 cubic yards of excavated material — a serious pile of dirt you need to move somewhere.
- Soil and debris disposal: Hauling away excavated soil typically costs $150–$400 depending on volume and local dump fees. If you're removing old concrete or brick, add demolition and disposal on top of that.
- Old surface removal: Breaking up and hauling existing concrete or a worn-out patio adds $200–$600 in equipment rental (rotary hammer or saw) and disposal fees. This is one area where hiring out the demo makes a lot of sense.
- Drainage work: If water pools near the house, you may need to regrade, install a French drain, or add catch basins before laying the patio. Drain materials alone can run $200–$800 for a simple French drain system, and that work needs to be done correctly before you set a single paver.
- Permits and inspections: Most jurisdictions don't require permits for ground-level paver patios not attached to the house. But if you're near a setback line, adding drainage that affects neighbors, or building a raised border, check with your local building department first. Permits can run $50–$200 if required.
- Delivery and fuel surcharges: Multiple deliveries from different suppliers (pavers on one pallet, gravel from another) can add $100–$300 in delivery fees that aren't visible in per-unit pricing.
- Extra base material for soft spots: You may discover soft or unstable soil once you dig down. Fixing it means adding compactable fill or even geogrid stabilization, which can add $100–$400 unexpectedly.
A practical rule of thumb: budget 15–20% above your material estimate as a contingency for site surprises. On a $2,000 material budget, that's $300–$400 held in reserve. Most experienced DIYers will tell you that buffer gets used.
How regional pricing affects your real total
Material costs for pavers, gravel, and sand can vary by 20–40% depending on where you live, mostly driven by local quarrying, transportation costs, and regional supplier competition. In the Southeast and Midwest, concrete pavers often run toward the lower end of the $3.40–$6.20/sq. ft. range. In the Northeast, Pacific Northwest, and California, that same paver can run closer to $5–$8/sq. ft. or more. Gravel and sand follow similar patterns, regions close to aggregate sources pay less.
The most reliable way to build an accurate budget for your location is to call two or three local landscape or masonry suppliers and get a current price per pallet for your chosen paver style, plus per-cubic-yard prices for crushed stone and coarse sand. For example, a local 2026 price sheet from Mains Landscape Supply shows polymeric sand and paver accessory pricing can vary by region and supplier get a current price per pallet for your chosen paver style, plus per-cubic-yard prices for crushed stone and coarse sand. Plug those local numbers into the quantities above (400 sq. ft. of pavers plus 10% overage, 5 cubic yards of gravel, 1.25 cubic yards of sand) and you'll have a far more accurate number than any national average can give you.
Equipment rental rates are also regional. The plate compactor example above ($60–$100/day) reflects a range from mid-sized markets. In major metro areas, expect to pay at the high end. Check Home Depot Tool Rental, Sunbelt Rentals, or a local independent rental yard for your specific area's current day rates.
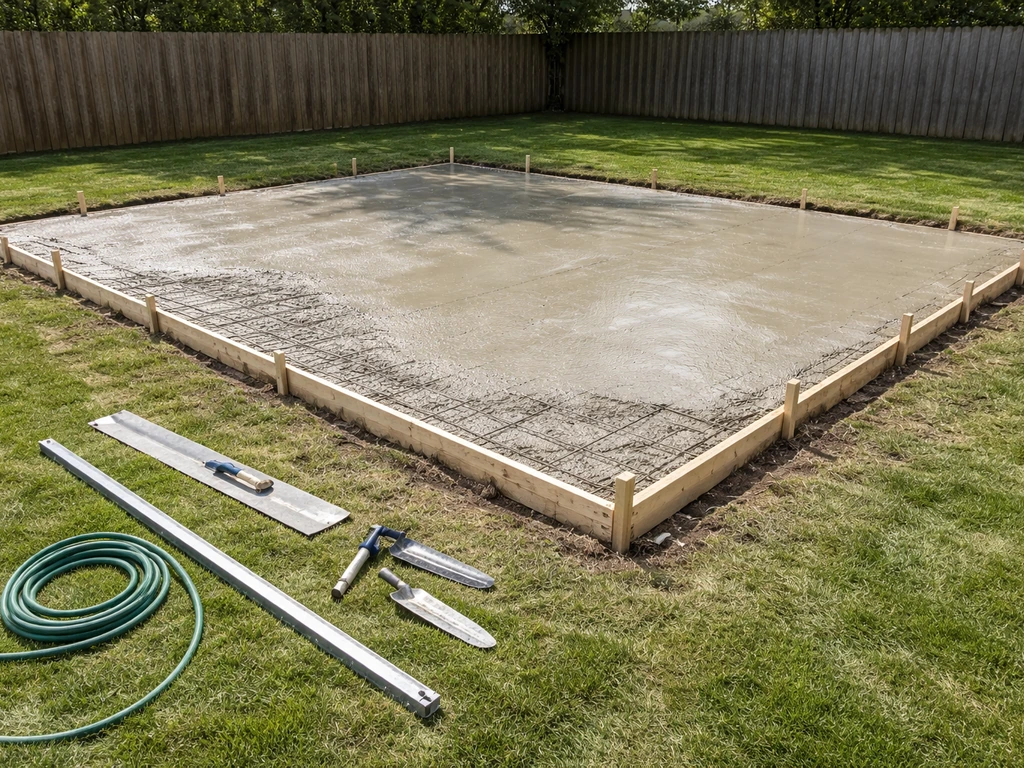
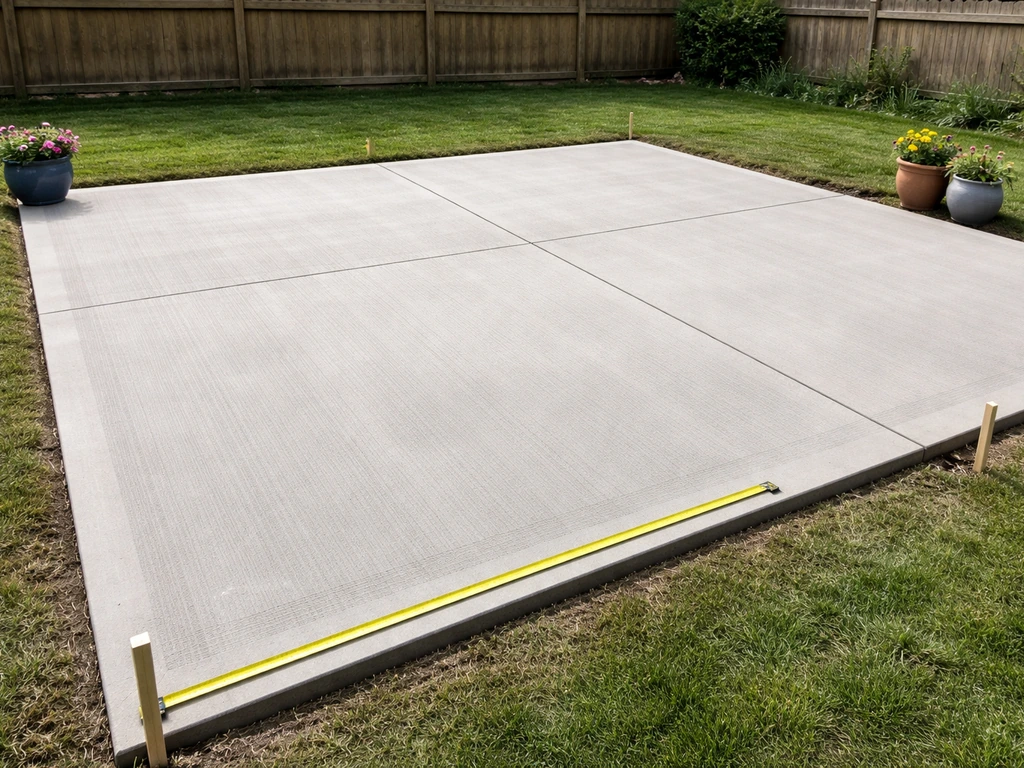
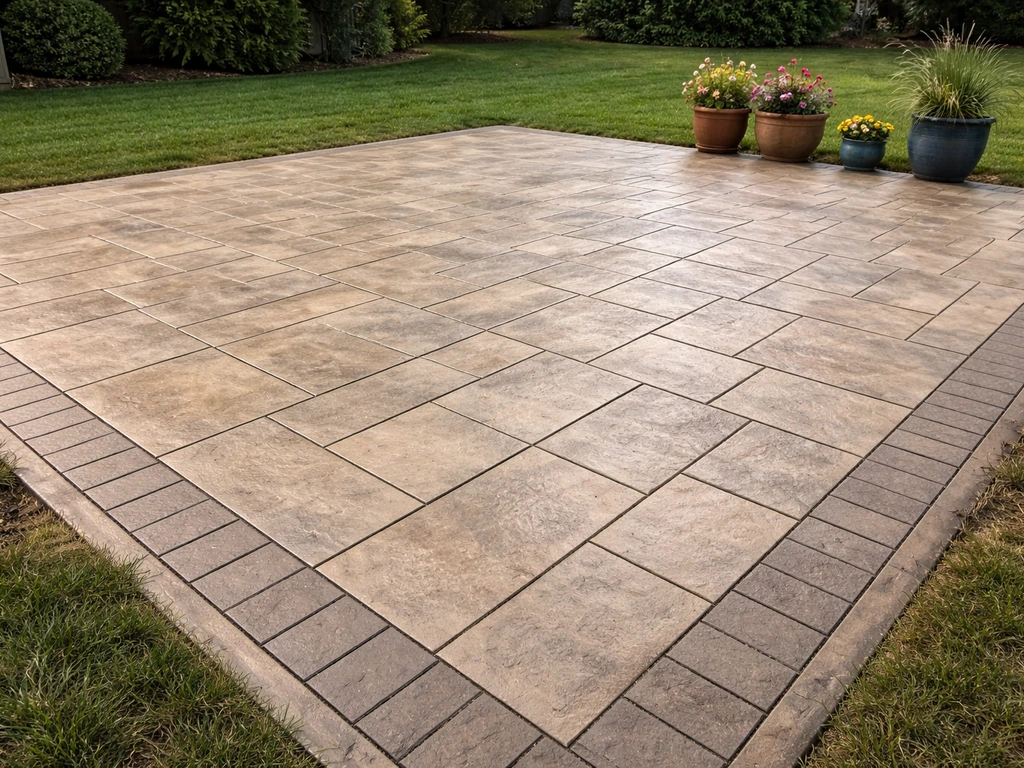
If you're also weighing other patio types, it's worth knowing that a 20x20 concrete patio or stamped concrete patio often has different cost dynamics, concrete can be cheaper to pour but harder to DIY without experience, while pavers give you the ability to reset individual pieces over time if the base shifts. A 20x30 concrete patio cost will be driven by your slab thickness, local concrete prices, site prep, and whether you add reinforcement and finishing details like stamping or decorative textures 20x20 concrete patio. If you're comparing materials, a 20x20 concrete patio (including stamped concrete options) can price differently than pavers, especially once you factor in labor and prep work. Stamped concrete can change the cost because you’re paying for the slab and the stamping or engraving rather than individual pavers stamped concrete patio. Those comparisons are worth exploring if you're still deciding on material.
Your next steps before you buy a single paver
- Measure and mark your 20x20 area, then assess what you're working with: Is the ground flat? Any existing surface to remove? Any drainage issues? The answers determine whether you're in simple or complex DIY territory.
- Call 2–3 local suppliers and get quotes on concrete pavers (price per pallet and square foot coverage per pallet), crushed stone (price per cubic yard), coarse sand (per cubic yard), and polymeric sand (price per 50 lb bag). This takes 20 minutes and gives you real numbers for your market.
- Check equipment rental rates at your nearest tool rental location for a plate compactor (day rate) and a paver saw (day rate). Add those to your material total.
- Calculate your base quantities: For 400 sq. ft. with a 4-inch base, plan on 5 cubic yards of compacted gravel. For the 1-inch bedding layer, plan on 1.25 cubic yards of coarse sand. For joint fill, plan on 10–14 bags of polymeric sand depending on joint width.
- Add 15–20% to your material subtotal as a contingency buffer for site surprises, delivery fees, and the small stuff that adds up.
- Get at least one contractor quote anyway, even if you're committed to DIY. It gives you a real savings benchmark and may reveal site prep issues you hadn't considered.
A 20x20 paver patio is one of the more satisfying DIY projects you can take on because the result looks expensive and lasts for decades when done correctly. The key is going in with a complete budget, not just the paver cost, so you're not surprised halfway through by gravel delivery fees, a rented compactor, or a pile of excavated soil with nowhere to go. To estimate a 15x20 concrete patio cost more accurately, build your budget around square footage, thickness, site prep, and finishing options 20x20.
FAQ
How much extra should I budget for paver waste when doing a DIY 20x20 patio?
A common mistake is underestimating waste. For budgeting, plan on at least 10% extra pavers for cutting and pattern adjustments, then add more if you will build borders, diagonal layouts, or a complicated layout around posts. If you skip this, you can end up paying rush delivery just to finish the last row.
When should I increase the gravel base thickness for a DIY 20x20 paver patio, and how does it change the cost?
Yes, if your base is not built to match your climate and soil. In freeze-thaw areas or on heavier clay, many DIYers switch from 4 inches of compacted base to 6 inches and also tighten compaction. This increases gravel and can add a day to rental time with a plate compactor, but it reduces the chance of uneven settlement that later forces re-laying.
What situations make DIY cost closer to professional installation for a 20x20 paver patio?
Look at the total project timeline and equipment needs, not just your installed material estimate. If you anticipate needing a skid steer for excavation, demolition, or hauling, and you do not already have an easy disposal plan, DIY usually moves closer to the mid-point of the contractor range. Contractors also reduce downtime by having the crew and workflow to grade and compact in one continuous pass.
Does polymeric sand usually cost more than expected, and what can cause extra spend?
Polymeric sand is the biggest “small item” people overlook. You may need additional sand if the joints are wider than expected or if you have to sweep and re-fill after vibration and initial settling. Also, installation weather matters, if it is too wet or too cold, joint activation can fail and you might need to re-do the joint sand.
How does patio elevation (meeting a door step or matching existing grade) affect the total DIY cost?
Depth changes everything. If you raise the patio to meet doors or match an existing walkway, you might need more excavation and more base and bedding layers. That can raise costs even if your pavers are the same amount, because the gravel and sand quantities increase with total depth.
What drainage mistakes make DIY patios more expensive later?
Your drainage plan can add cost, but it is cheaper than fixing failures. If you cannot maintain slope (often about 1/4 inch per foot) you may need more shaping, additional base, or a sub-drain solution, which adds materials and labor. Skipping slope is a top reason DIY patios develop puddles and shifting edges.
Why do edge restraints change the DIY budget, and what happens if I underbuy them?
Edge restraints often determine whether the patio holds shape. If you skip or under-buy edging, or you use edging that is not suited to your thickness and base, pavers can spread over time, requiring re-alignment and extra sand repairs. Budget for proper edging length plus extras for corners and transitions.
How should I think about tool rentals so I do not blow the DIY budget?
If you already own most tools, DIY can stay near the materials-only range, but if you are missing a paver saw or compactor, rental adds up fast. A “weekend install” assumption is also risky, weather and rework can extend rentals by days, so plan for the possibility of an extra rental day for compaction and cutting.
What delivery-related costs commonly raise the DIY cost of a 20x20 paver patio?
Delivery can be surprisingly lumpy. Some suppliers charge separate fees for pavers versus base materials, and pallet schedules can force additional trips. If you do not have a trailer and loading help, the cost of delivery plus extra trips can easily add a few hundred dollars to your total.
When is it worth paying a pro just for site prep, even if I want DIY for the pavers?
Yes, compared with contractors, DIY can be riskier on difficult demolition and soil. If you need to remove old concrete, cut roots, or correct unstable fill, the “surprise costs” category grows, disposal fees and excavation time become major drivers, and the chance of an uneven base increases. In these cases, getting a one-day pro estimate for grading can prevent a full tear-out.
Can I save money by doing the project in phases, and what ordering matters?
The total cost can stay reasonable if you phase properly. A practical approach is to lock in paver and sand prices first, then schedule excavation and gravel delivery once the base prep is ready, and finally do the paver install immediately after base leveling. Delays can cause base disturbance, and repeated trips add delivery and rental time.
Why do premium pavers sometimes cost more than just their higher price per square foot?
If you use higher-end pavers, the per-square-foot jump does not account for pattern complexity. Textured, tumbled, or irregular pavers sometimes require more cutting and careful layout, which increases waste and time. Also, natural stone can be heavier, which can slightly change delivery handling costs.
Next Articles
How Much Does a 20x30 Concrete Patio Cost? 2026 Guide
2026 cost ranges for a 20x30 concrete patio, including materials, site prep, reinforcement, finishing, and DIY vs contra
How Much Does a 20x20 Concrete Patio Cost?
Estimate the total cost of a 20x20 concrete patio, with labor, materials, prep, finish options, and DIY vs pro pricing.
How Much Does a 20x20 Stamped Concrete Patio Cost?
Get real 20x20 stamped concrete patio costs, price breakdown, drivers, and per sq ft budgeting tips vs pavers or stone.